Cast iron cookware has been cherished for generations due to its exceptional durability and cooking performance. However, over time, even the best cast iron pans can lose their charm. A forgotten pan may develop rust, lose its non-stick surface, or accumulate residues. The good news is that these issues are easy to fix with a bit of care and proper seasoning. In this guide by Ethnic Pots and Pans, we’ll walk you through the steps to breathe new life into your old cast iron pan, ensuring it serves you for many more delicious meals.
Why Reviving an Old Cast Iron Pan is Worth It?
Restoring a cast iron pan is not just about bringing back its functionality—it’s about preserving a piece of culinary history. Cast iron cookware, like those offered by Ethnic Pots and Pans, is built to last for decades, and with the right maintenance, it only gets better with age. Seasoning your pan not only revives its non-stick properties but also enhances the flavor of your dishes. Plus, it’s an eco-friendly and budget-friendly alternative to buying new cookware.
What is Seasoning?
Seasoning is the process of baking oil onto the surface of a cast iron pan to create a natural, non-stick coating. The oil forms a polymerized layer that protects the pan from rust and ensures smooth cooking. Proper seasoning is key to making your cast iron pan non-stick, durable, and easy to clean.
Materials You Will Need
Before getting started, gather the following materials:
– An old cast iron pan
– Steel wool or a stiff scrub brush
– Dish soap (preferably mild and unscented)
– Clean, lint-free cloth or paper towels
– Cooking oil
– Aluminum foil (for the oven rack)
– An oven
Step 1: Assess the Condition of Your Cast Iron Pan
If your pan has been sitting idle for a while, it may show signs of rust, discoloration, or sticky residue. Don’t worry! Most issues can be resolved with a thorough cleaning and re-seasoning. Examine the pan to determine whether it needs a deep clean or light touch-up.
Step 2: Removing Rust and Stuck-On Residue
If your pan has rust or a stubborn layer of buildup, follow these steps:
1. Scrub Off the Rust: Use steel wool or a stiff brush to scrub the surface thoroughly. Make sure you remove all the rust spots.
2. Wash the Pan: Rinse the pan under hot water and scrub it with a little dish soap. This is one of the rare times when it’s okay to use soap on cast iron. Remember to rinse thoroughly to remove any soap residue.
3. Dry Completely: Pat the pan dry with a clean towel, and then place it on a stovetop burner over low heat for a few minutes to evaporate any remaining moisture.
Step 3: Seasoning Your Cast Iron Pan
Now that your pan is clean, it’s time to season it:
1. Preheat the Oven: Preheat your oven to 200°C (400°F). Place a sheet of aluminum foil on the bottom rack to catch any drips.
2. Apply Oil: Pour a small amount of oil onto the pan’s surface. Spread the oil evenly over the entire surface, including the handle and bottom, using a paper towel or cloth. Remember to wipe away any excess oil to avoid a sticky residue after baking.
3. Bake the Pan: Place the pan upside down on the middle rack of your preheated oven. Let it bake for about 1 hour. This process allows the oil to bond with the cast iron, forming a durable, non-stick layer.
- Cool Down: Turn off the oven and let the pan cool completely before removing it. Once cooled, it’s ready to use or store.
- If you do not have oven, stove works the best. Simply place the pan on the stove. Saute some chopped onions till they are golden brown. Let onion touch all the cooking areas. For best results, do this procedure during night and leave this onion oil mixture overnight. Next day morning, discard the onions . Wipe the pan with clean cloth. And start using the pan
-
-
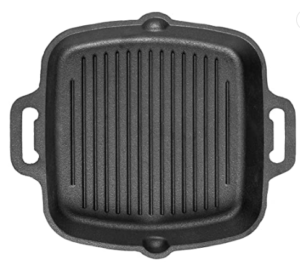
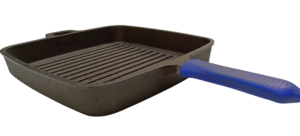
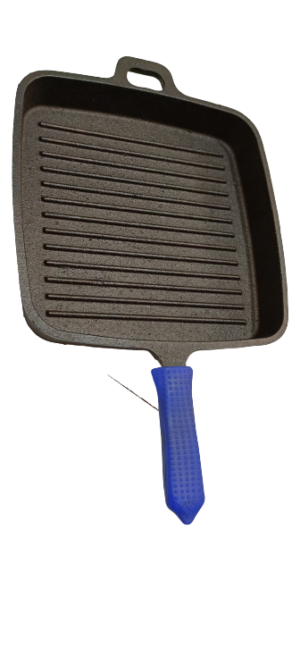
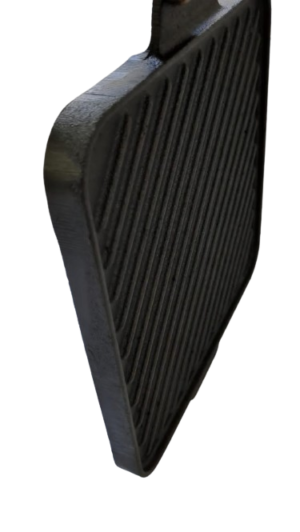
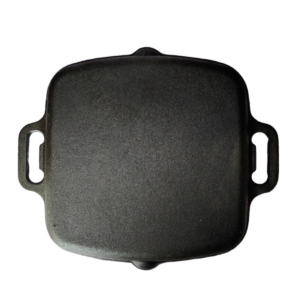 Pre-seasoned cast iron grill pan₹1,200.00
 -
-
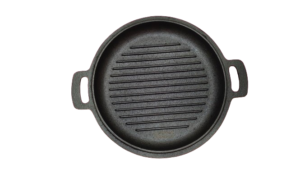
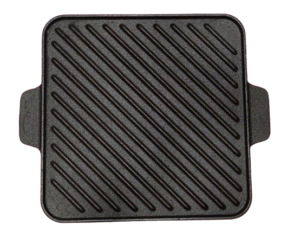
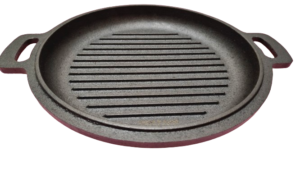 Pre-seasoned cast iron circle grill pan₹1,150.00
Maintenance Tips for Your Cast Iron Pan
To keep your pan in top condition, follow these maintenance tips:
1. Clean After Each Use: After cooking, let the pan cool slightly before rinsing it with hot water. Avoid using soap or harsh scrubbers. Instead, use a soft brush or scraper.
2. Dry Thoroughly: Always dry your pan immediately after washing to prevent rust. Heating it on the stove for a few minutes ensures it’s completely moisture-free.
3. Apply a Light Coat of Oil: After drying, rub a thin layer of oil over the surface before storing it. This helps maintain the seasoning and prevents rust.
4. Store Properly: Store your cast iron pan in a dry place. If stacking with other cookware, place a paper towel between pans to protect the surface.
Common Mistakes to Avoid When Seasoning Cast Iron
1. Using Too Much Oil: Applying too much oil during seasoning can lead to a sticky surface. Always use a thin, even coat.
2. Not Heating Enough: If the pan is not heated at a high enough temperature, the oil won’t polymerize properly, resulting in a tacky surface.
3. Skipping Regular Maintenance: Consistent use and light re-seasoning are key to maintaining a non-stick surface.
Why Choose Ethnic Pots and Pans?
At Ethnic Pots and Pans, we are passionate about providing high-quality cast-iron cookware that lasts a lifetime. Our products are designed with the needs of modern kitchens in mind, ensuring a perfect balance of tradition and performance. Whether you’re looking for griddles, skillets, or Dutch ovens, our wide range of cast iron cookware will meet all your culinary needs.
Reviving an old cast iron pan may require some effort, but the rewards are worth it. A well-seasoned pan not only improves your cooking experience but also contributes to healthier, tastier meals. By following these steps and using quality cast iron cookware from Ethnic Pots and Pans, you can enjoy the timeless appeal of cast iron cooking for years to come.
Ready to elevate your cooking game? Explore our premium range of cast iron cookware at Ethnic Pots and Pans and experience the unmatched quality for yourself. Visit our website today and invest in a piece of cookware that will serve your family for generations!
