Dosas are not just a breakfast item but a beloved part of Indian cuisine, appreciated worldwide. Getting the dosa just right—thin, crispy, and evenly cooked—can be challenging, especially for beginners. However, using a cast iron tawa elevates your dosa-making game due to its superior heat retention, natural non-stick properties, and even cooking surface. This article will walk you through everything from preparing the tawa to ensuring that your dosa turns out perfect every time.
Why Cast Iron Tawa is Ideal for Making Dosas?
Cast iron cookware has been a kitchen essential for centuries. The tawa made from cast iron is highly preferred for dosas because of its heat retention and distribution. Unlike non-stick tawas, cast iron develops a natural non-stick coating over time through seasoning, making it perfect for cooking foods like dosa, which require an even cooking surface.
-
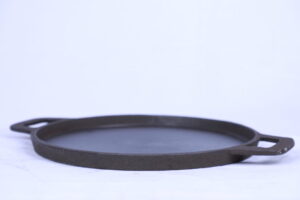
-
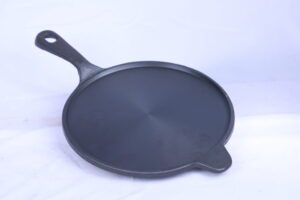
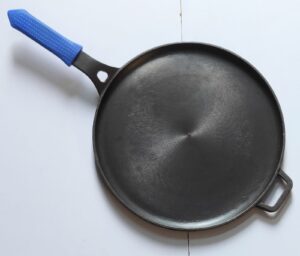
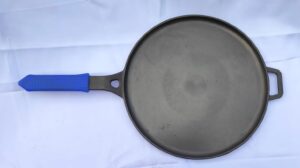
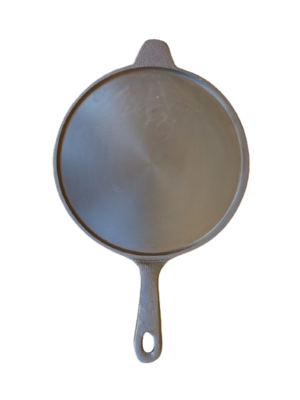 Pre-seasoned cast iron long handle dosa tawa₹1,100.00 – ₹1,250.00
 -
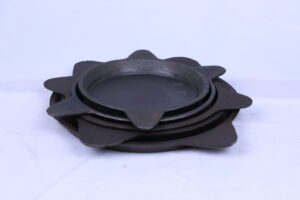
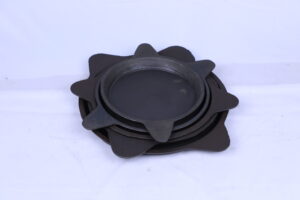 Pre-seasoned cast iron Edge raised tawa/Adai kal / Fish fry tawa₹1,050.00 – ₹1,150.00
 -
-
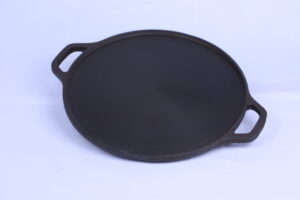
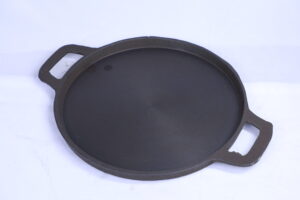
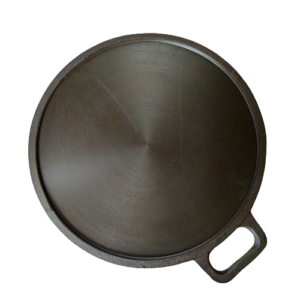 Pre-seasoned cast iron double handle dosa tawa₹850.00 – ₹1,050.00
 -
-
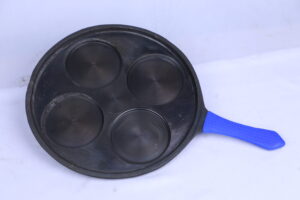
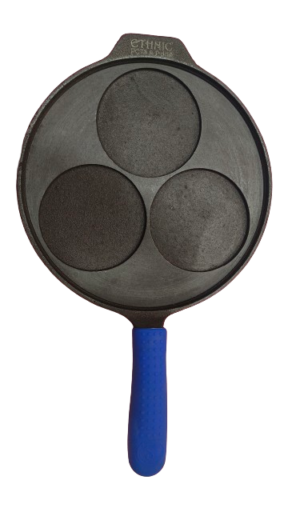 Pre-seasoned cast iron Mini oothapam/ pancake tawa₹1,050.00 – ₹1,150.00
 -
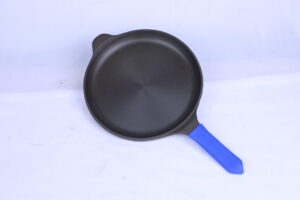
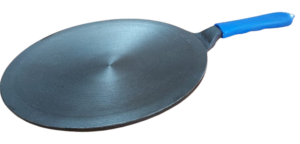
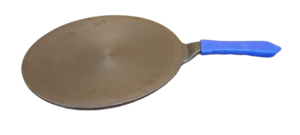
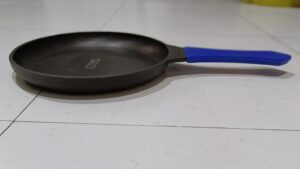 Pre-seasoned cast iron Omlette tawa/Roti Tawa with heat resistant grip₹800.00 – ₹1,000.00
 -
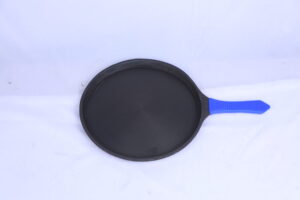 Pre-seasoned cast iron handle flat base tawa with heat resistant grip₹1,150.00 – ₹1,200.00
Benefits of Cast Iron Tawa for Dosas
– Excellent Heat Retention: Cast iron holds heat longer than most other materials, ensuring your dosa is cooked evenly.
– Even Cooking Surface: Cast iron distributes heat across the entire surface, preventing uneven cooking or undercooked spots.
– Health Benefits: Cooking with cast iron can fortify your food with small amounts of iron, a beneficial mineral.
– Natural Non-stick Surface: Through seasoning, the tawa develops a natural non-stick surface, free of harmful chemicals found in modern non-stick cookware.
Suggested Reading: Is Cast Iron Cookware Healthy?
Seasoning the Cast Iron Tawa
One of the most critical steps to making the perfect dosa on a cast iron tawa is properly seasoning the pan. Seasoning involves applying a thin layer of oil and heating the tawa so that the oil polymerizes and bonds to the surface. This forms a natural, smooth coating that makes the tawa non-stick over time. A well-seasoned tawa is key to preventing dosas from sticking.
Steps for Seasoning Your Tawa
1. Clean your tawa thoroughly with warm water and a soft scrubber to remove any dust or residue.
2. Dry it completely using a towel or by heating it gently on a stove.
3. Apply a thin, even layer of cooking oil (such as vegetable oil or flaxseed oil) across the surface.
4. Heat the tawa on low heat for about 10-15 minutes. Allow the oil to bake into the surface.
5. Turn off the heat and let the tawa cool completely. Wipe off any excess oil.
6. Repeat this process after each use, especially when the tawa is new, to enhance the non-stick surface.
Preparing the Dosa Batter
The next key step is preparing the dosa batter correctly. A perfect dosa depends on a fermented batter that has the right consistency and flavor. While you can find pre-made batter in many stores, making it at home ensures better results.
Recipe
– 2 cups rice (preferably dosa rice or parboiled rice)
– ½ cup urad dal (split black gram)
– 1 tablespoon fenugreek seeds
– Salt to taste
Steps
1. Rinse the rice and urad dal separately. Soak the rice and dal (with fenugreek seeds) in water for 4-6 hours.
2. Grind the rice and dal separately into a smooth paste, adding water as necessary.
3. Combine both pastes, mix thoroughly, and leave the batter to ferment overnight (about 8-12 hours).
4. Once fermented, add salt and adjust the consistency by adding water if needed. The batter should be runny but not too watery.
Prepping the Cast Iron Tawa for Dosa
Before pouring the batter, the cast iron tawa must be prepped for dosa-making. A properly heated tawa is essential for ensuring that your dosa does not stick.
Steps to Prepare the Tawa
1. Preheat the Tawa: Place the tawa on medium heat and allow it to heat up for a few minutes. A tawa that is too cold will cause the dosa to stick, while an overly hot tawa will burn the batter.
2. Test with Water Sprinkles: To check if the tawa is ready, sprinkle a few drops of water. If the water sizzles and evaporates quickly, the tawa is at the right temperature.
3. Apply Oil or Ghee: Lightly grease the tawa using a few drops of oil or ghee. You can spread the oil with a paper towel or half an onion, which also helps in giving a uniform coating and preventing sticking.
Watch this video where our cast iron tawa is in action:
Spreading the Dosa Batter
Once the tawa is heated and oiled, you’re ready to spread the batter. This step is crucial in achieving a thin, even dosa.
1. Pour a ladleful of dosa batter in the center of the tawa.
2. Using the back of the ladle, spread the batter in a circular motion, working from the center to the edges. The motion should be quick but smooth, ensuring the batter is spread evenly into a thin layer.
3. Let the dosa cook on medium heat. You’ll see the edges begin to brown and lift off from the pan as it crisps.
Cooking and Perfecting the Dosa
After spreading the batter, it’s time to cook the dosa to crispy perfection.
1. Add Oil or Ghee: After spreading the batter, drizzle a small amount of oil or ghee around the edges of the dosa. This helps crisp up the edges and adds flavor.
2. Cook Until Golden Brown: Allow the dosa to cook until it turns golden brown and begins to lift from the edges. Depending on the thickness of the dosa, this may take 2-3 minutes.
3. No Need to Flip: Unlike pancakes, dosas are traditionally not flipped. The dosa is ready once the bottom is crisp and golden. However, if you prefer a soft dosa, you can flip it and cook it for an additional 30 seconds on the other side.
4. Remove with a Spatula: Gently lift the dosa from the tawa using a spatula. Serve hot with chutney and sambar.
Troubleshooting Dosa Problems on Cast Iron Tawa
Dosa Sticking to the Tawa: If your dosa sticks, it could be due to the tawa not being hot enough or the seasoning being inadequate. Ensure your tawa is well-seasoned and preheated. Regular maintenance of the tawa through proper seasoning is critical.
Dosa Not Crispy: If your dosa is not turning crispy, the batter may be too thick, or the tawa might not be hot enough. Ensure the batter is of pouring consistency and preheat the tawa adequately.
Dosa is Too Thick: Spreading the batter properly is essential to get a thin dosa. Make sure to use the back of the ladle to spread the batter quickly before it begins to cook.
Perfecting the dosa on a cast iron tawa requires practice, but once you master the technique, you’ll enjoy restaurant-quality dosas at home. The cast iron tawa, with its superior heat retention and natural non-stick properties, is the ideal tool for making dosas that are crispy on the outside and soft on the inside. With the right seasoning, batter preparation, and cooking method, you’ll be able to perfect the art of dosa-making and impress your family and friends. Not only will your dosas taste amazing, but you’ll also benefit from the long-lasting and health-conscious properties of cast iron cookware.

